Posts by :
Four Foot Soft Light Wand By Michael Sutton. DIY Under $70!
January 24th, 2016Here is a super cool DIY four foot soft light solution by Michael Sutton of Frozen Prosperity.
This looks light a great way to add a soft source without breaking the bank. Here is th breakdown by Mike Sutton.
Click here to check out Mike’s work.
Thanks!
“Here is what you will need to make my 4 foot soft light wand with remote on/off, dimming, strobe, etc.
1x Co-RODE DC 12V 300LED 5630 LED Strip. $18.99 on Amazon Prime
http://www.amazon.com/gp/product/B018JGD4I6?psc=1&redirect=true&ref_=oh_aui_detailpage_o02_s00
1x LE Mini Remote controller for Single color LED. Dimmer, etc. $5.45 Amazon Prime
http://www.amazon.com/gp/product/B00MHKCTLE?psc=1&redirect=true&ref_=oh_aui_detailpage_o02_s01
1x PCB LED connector 10pcs $2.99 Amazon Prime
http://www.amazon.com/gp/product/B00MB9H9XE?psc=1&redirect=true&ref_=oh_aui_detailpage_o02_s01
1x Metalux Clear Bulb Guard $3.68 at Lowes
1x ClosetMaid 8’ White Shelf Liner (used as diffusion and as a LED strip Carrier insert) $7.98 at Lowes you can also use other diffusion material but this is cheap and thick.
http://www.lowes.com/pd_346097-362-1127___?productId=3373768&pl=1&Ntt=closet+maid+shelf+liner
A flashlight for a handle or PVC pipe. Flashlights are cheap $5-15. A piece of PVC $2.99. When front end removed battery canister must be a diameter that will fit the metalux bulb guard tube. Then just use mini screws or hot glue to affix it.
Some electrical tape $.99 to affix the metalux bulb guard end cap and to prevent light from coming out the end of the tube.
12V battery block (bescor, Kessler magpack, etc) or this $11.99 cheapy
Total Cost = $67.07
assuming you are using a $15 flashlight versus one you already have or just a piece of PVC pipe.
Cut a 2” wide 48” long strip of the ClosetMaid White Shelf liner or thick opaque diffusion material. Use a ruler to make sure it’s a straight cut. The LED strips on the roll have 3M Adhesive on the back. For your first strip make sure its the one that has the power connector. Now line up that LED strip onto the 2” x 48” white liner you just cut along the edge. Leave some length on the bottom where the power connector attaches. Remove the backing and affix it to the liner. Run it upto the top edge. Overlap the LED strip so that you get a cut point about an inch or two above the liner edge. You want the LED strips longer than the liner and you want them to each end on a cut point as you will be using the PCB connectors to link the cut strips together. Now take you next length of LED strip (should be same length as last one. This one you will lay next to the strip you just affixed but the positive and negative should be the opposite of your first strip end. Example + – on first strip then strip next to it will be – + Affix the strip to the liner and cut it at the end point. Again overlapping the liner like the first strip. Use one of the PCB LED connectors and connect positive to positive negative to negative. You will see the connectors will now line up. Now do this same process with two more strips. Now your third strip will be same same as the first + – and your fourth will be like your second – +
Next step is to cut an 8” wide x 48” long strip of the liner material and roll it up so that it fits nicely into the Metalux Bulb Guard Tube. Keep the seem straight. Feel free to use scotch tape to assist in making it straight. Now you have a nicely diffused tube that your LED liner will be inserted into.
Now take your liner that has 4x LED strips with PCB connectors and a power input cord and curve the end and insert it into the Metalux Guard Bulb tube all the way down so the connectors hang out the end. Make sure it is straight and tape down the ends if your curve isn’t staying. Tuck the connectors on the end back into the tube. With electrical tape affix the Bulb Guard Cap onto the end. Attach the power dongle from the remote control to the power input of the light strip. Use some tape on the connector to ensure it does not come loose.
Next take your flashlight and remove the front end (bulb, reflector batteries, etc) and drill a hole wide enough for the remote control power dongle end to fit though. or just use a PVC tube and end cap (drill hole for remote power dongle to hang out of.). Affix your light with remote dongle into the cavity of the flashlight or PVC tube for at least three inches. Once you find a place you like, either use screws or hot glue to affix your new handle.
Lastly take the power terminal that came with the LED strip lights and attach it to your power lead on the battery you have chosen. If you chose the cheapy battery I listed then you just have to plug that in directly.
Now shoot some shit will your cool ass soft light wand.”
Michael Sutton
Twitter @MNS1974
Red Announces Red Raven. A Sub $6K Camera That Shoots 4K Up To 120 fps.
September 22nd, 2015Red has been teasing a sub $6K 4K capable camera for a few days. Now they have announced some of the specifications and pricing. The base price will be around $6K US. The camera is metal, not plastic with a fixed Canon EF mount and will include wifi and a microphone. The complete package will set you back around ten grand. Here is a rip from redraven.red.
Source: Redraven.red
Zeiss Milvus Nikon Mount Lenses. First Look Video.
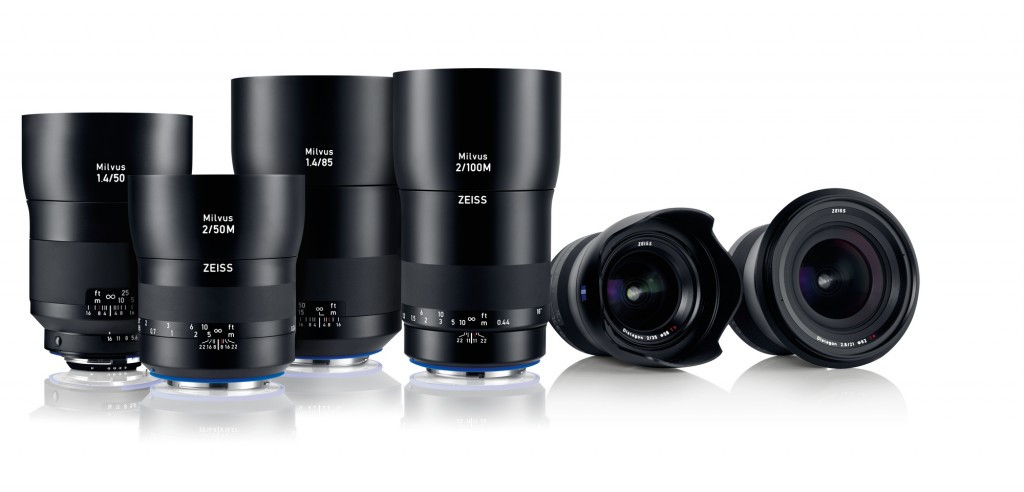
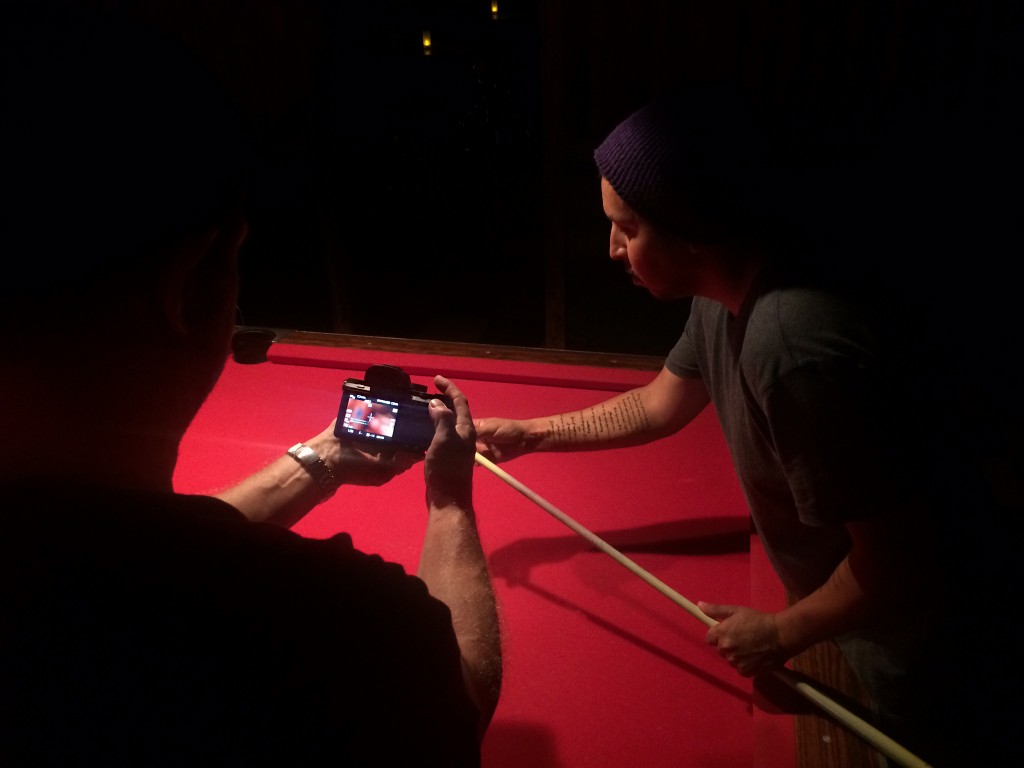
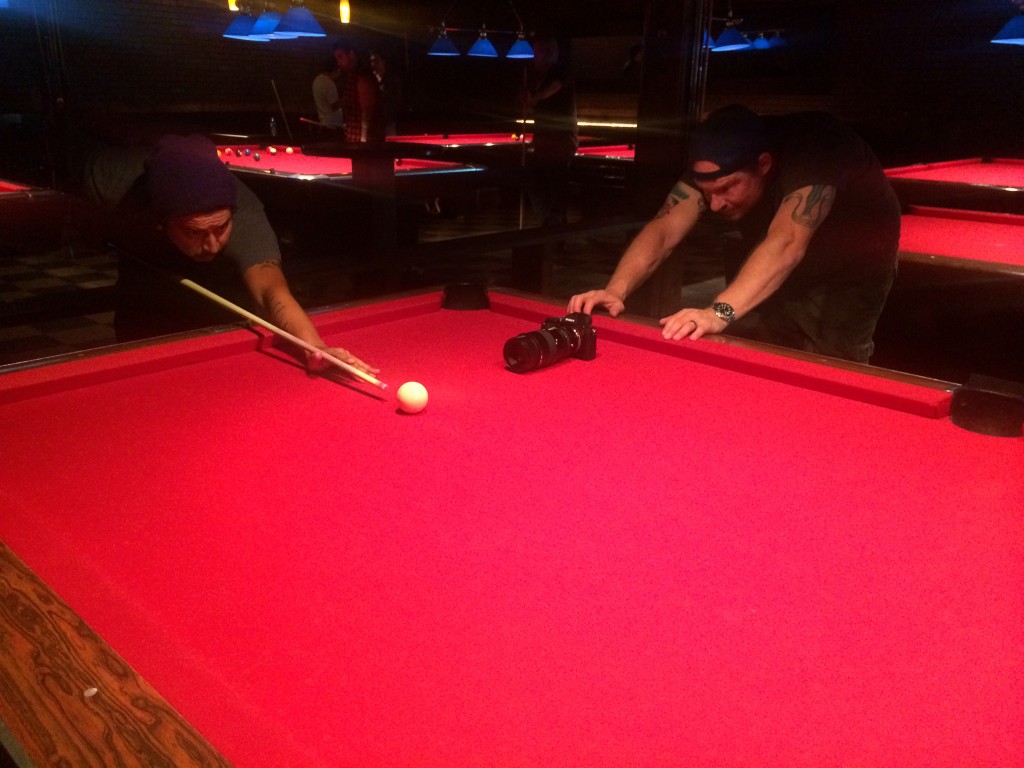
September 10th, 2015Here is a quick lens test we did with the new Zeiss Milvus Nikon mount lenses. The Milvus name comes from the bird Milvus migrans Wiki Def here. “The black kite (Milvus migrans) is a medium-sized bird of prey in the family Accipitridae.” The new style rubber housing is similar to the Zeiss Otus line of lenses and is very smooth and accurate. We used a dead head Sony E to Nikon mount adapter with the 21mm, 35mm, 50mm and 100mm lenses at a local pool hall here in Los Angeles.
No permits or permission, we simply just got a few friends together and shot the test while we were playing pool. We shot with the new Sony A7r mark 2 at 800 ISO for the interior shots and 25,000 ISO for the DTLA city shot. The steady shot worked quite well with these lenses. I left a little handheld shake in there to get a better feel for how it will handle. Let’s hope they continue this new exterior style to other lens mounts in the future.
Here is a rip from the ZEISS website.
Click here to check out pricing and availability from BH Photo.
Click here to download the DTLA exterior shot. Thanks!
“Redefine the limits of your creativity – with the new ZEISS Milvus lens family. It will initially consist of the following six focal lengths with ZE- or ZF.2-mounts compatible with SLR cameras from Canon and Nikon : ZEISS Milvus 2.8/21, ZEISS Milvus 2/35, ZEISS Milvus 1.4/50, ZEISS Milvus 1.4/85, as well as the macro lenses ZEISS Milvus 2/50M and ZEISS Milvus 2/100M. Further focal lengths will be added to the ZEISS Milvus lens family over the next few years.
The ZEISS Milvus lens family with precise manual focus offers high and consistent image performance across all focal lengths. They are ideal for current DSLR cameras and also for mirrorless system cameras of the Sony α7 series via an adapter solution.”
Here are a few BTS Still from the shoot.
A HUGE Thanks to Maya and Emilia for helping out with the shoot.
SmallHD Announces New 702 Bright Monitor. $1499 US
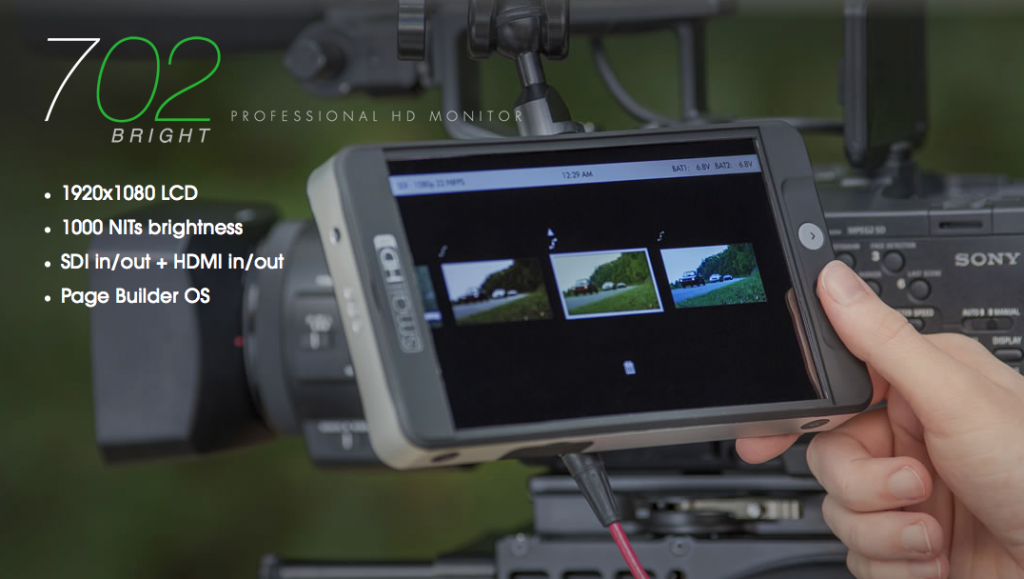
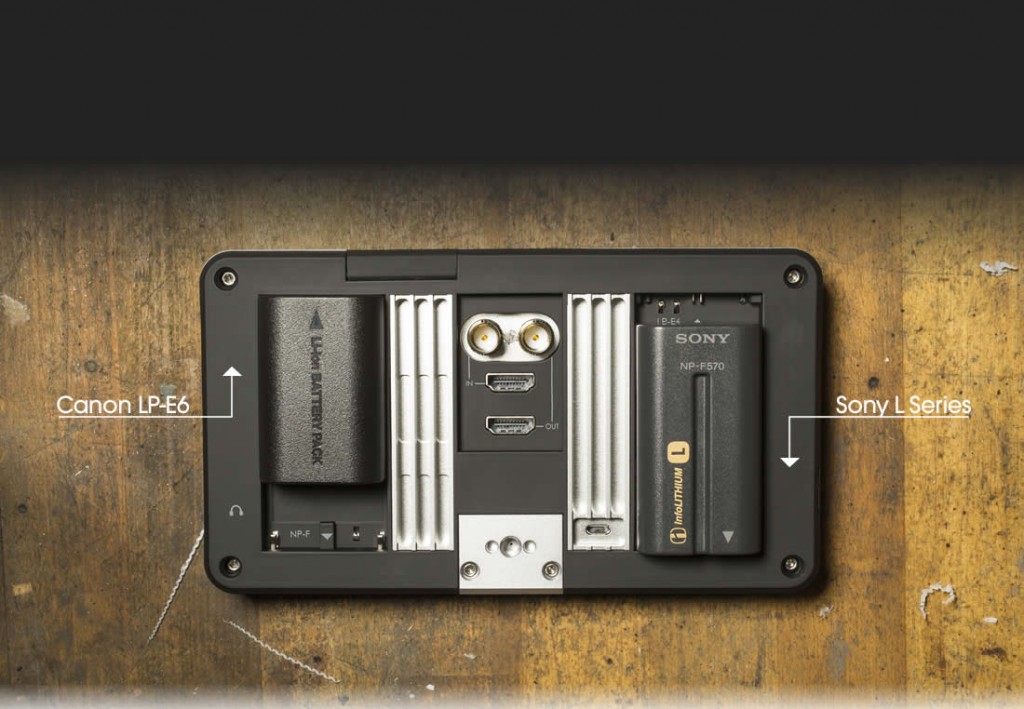
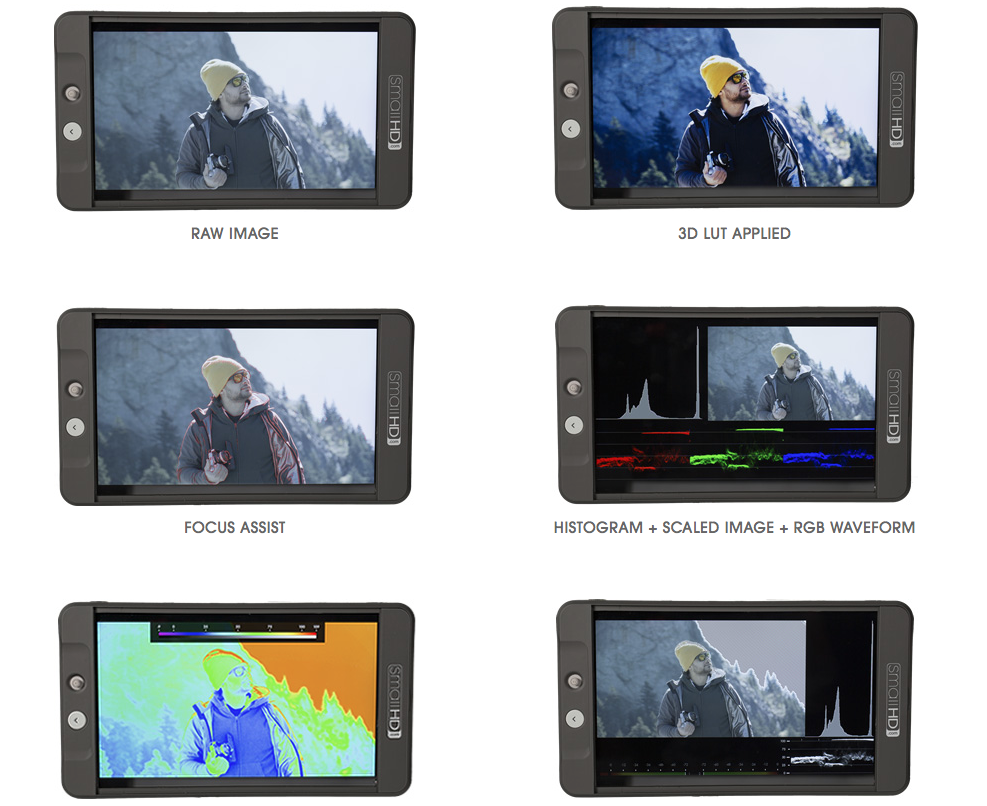
September 9th, 2015SmallHD has announced a new 702 super bright daylight viewable monitor. This looks like a great solution to smaller cameras and gimbal rigs for daylight monitoring. The new 702 Bright is not cheap. It will set you back around fifteen hundred smackers. Here is a rip from the SmallHD website.
Display
| Panel Type | LCD |
| Size Diagonal | 7 |
| Resolution | 1920 x 1080 |
| Pixel Density (PPI) | 323 |
| Aspect Ratio | 16:10 Native |
| Active Area | 5.0 in |
| Brightness | 1000 cd/m2 |
| Contrast | 1000:1 |
| Color Gamut | 85% NTSC (100% Rec 709) |
| Color Depth | 24 Bit (8bpc) |
| Viewing Angle | Full 179 Degrees |
| Backlight Type | LED |
| Adjustable Backlight | Yes |
| Temperature Adaptive Color | Yes |
Canon Desperate For Ratings With 8K Camera Announcement.
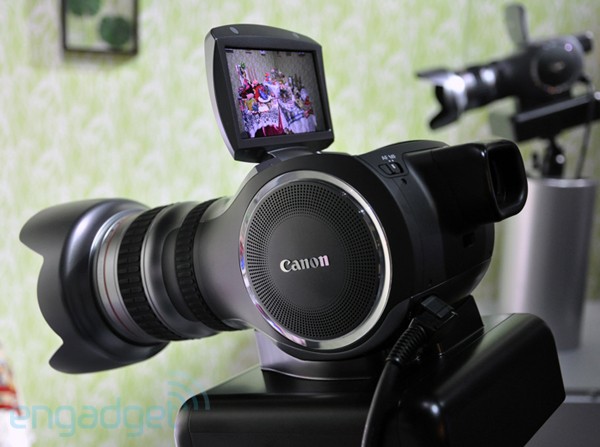
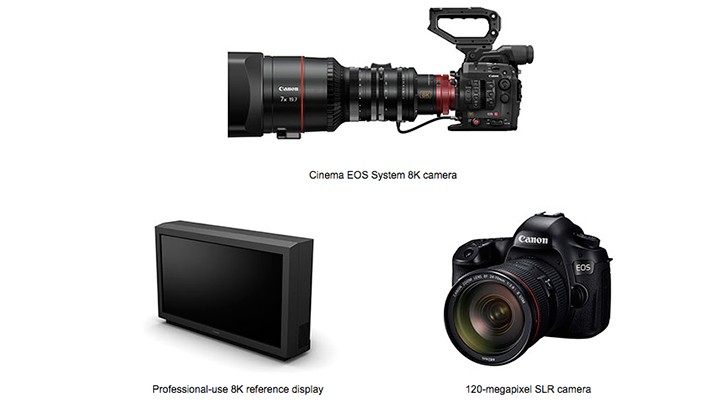
September 8th, 2015Canon has announced a new 8K cinema camera. A desperate attempt to keep up with Sony. Don’t believe the HYPE Remember the hair dryer? Even if this cameras drops it will cost a fortune and will not compete with current Sony Or Panasonic gear. This announcement is so sad it makes me want to sell my 5D all over again. Here is The Lame Press Release
Red Shark News.
Here is a snap of the purposed new camera and monitor. from http://www.canonrumors.com


